Start: January 13, 2014
Completion: March 27 2014
Total Days Spent: 73 Days
Well, this project was certainly a learning experience. There were several successes and failures during this project, and this project took a large enough amount of time for me to justify writing a postmortem on it just to recollect and perhaps help anyone reading this to avoid the mistakes I've made and be inspired by my progress. I don't really ever do postmortems so I'm just going to broadly categorize my thoughts into good and bad, and perhaps anything else that comes up as I write.
The Bad
1 - Not Enough Research
The original vision of this project was to have it in a style similar to Trendy's Dungeon Defenders game. The style is very saturated with lots of bloom effects and such:

A couple of weeks into the project after all my low poly models were done, I was having a conversation with a friend who brought up Dungeon Defenders 2. I knew Trendy was developing DD2, but it had never occurred to me to look for any dev screenshots. Well, to my surprise there were plenty of gameplay videos online. Even more surprising was that their art style has completely changed from what it was in DD1.
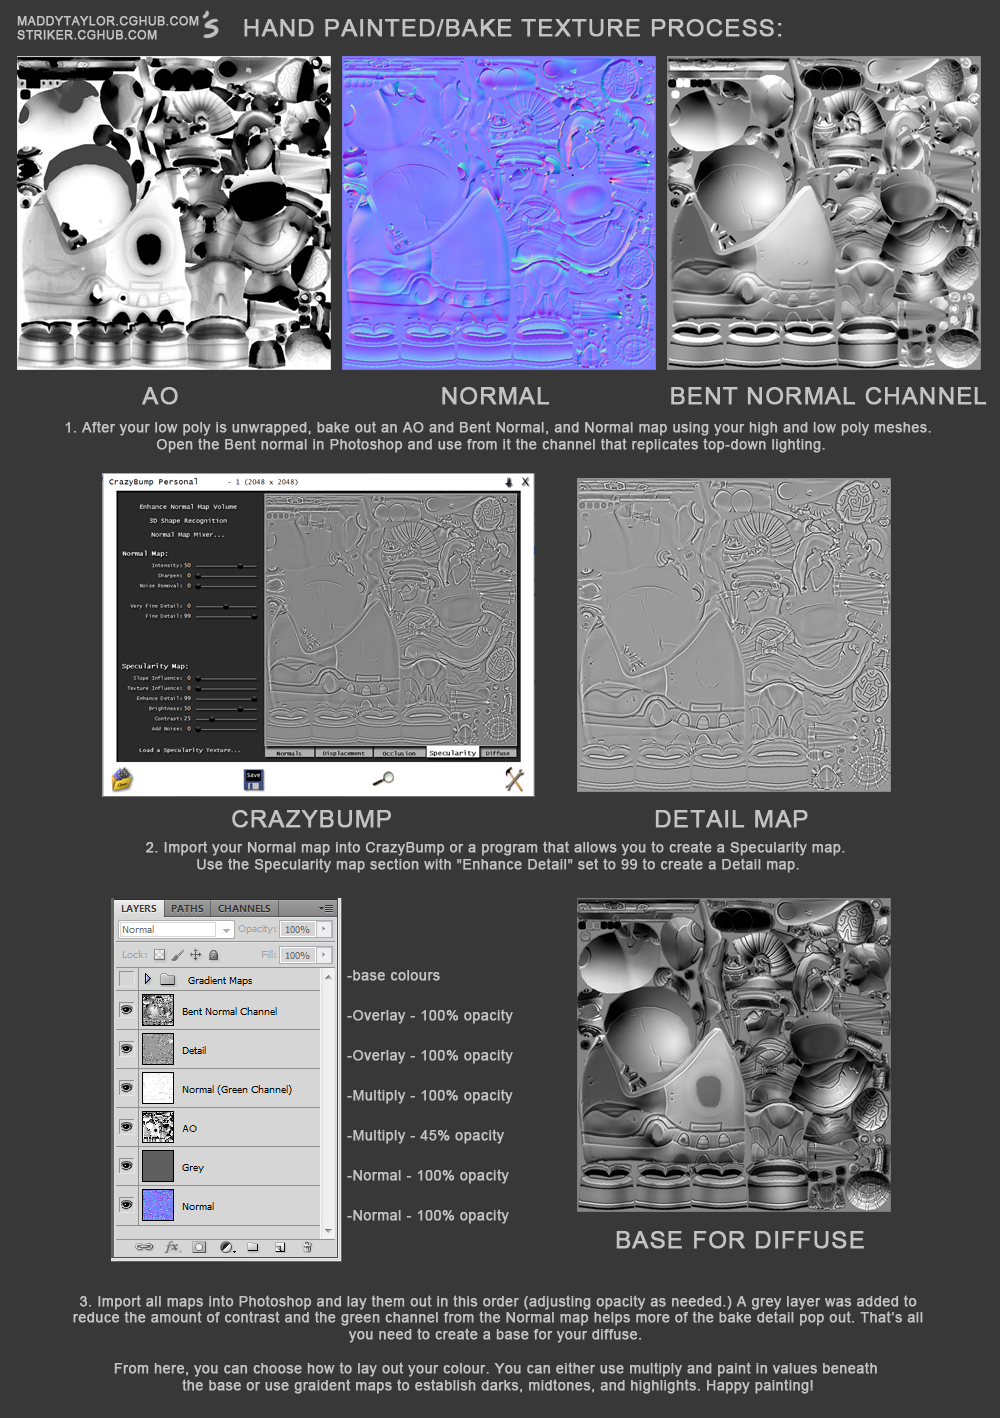
This new art style calls for a technique called gradient mapping which uses a bent normal map (among others) that is derived from a high poly model.
All of my low poly models were modeled and unwrapped already. I planned to do some basic sculpts for normal maps without altering my low poly models. Based on what I saw from DD1, there weren't a lot of assets with super high fidelity normal maps so it seemed appropriate. However, with gradient mapping, it all relies on very large, smooth shapes and surfaces (BLUBBER BUSTERS is a great example of this), and since I had no high poly models to support this style, I had to make a huge decision with my project: either start completely over with a lot of my assets or redefine my goals and push forward with what I had.
Before I made my decision, I tried to see whether I could implement the gradient mapping technique into what I already had, but the results were tragic. So I chose the latter of my options and "downgraded" my project to a more generic theme and cut out normal maps entirely. Having to make this decision was rather disappointing for me, but it saved me the time of having to basically start back over from scratch and waste two or three weeks of development time. It did allow me to focus on hand painting, and was actually a refreshing change of pace compared to doing my usual daily hand-painting studies.
2 - I Didn't Properly Block Out the Scene
Despite knowing (and often preaching to beginners) the importance of blocking out a scene before diving in... I did not do that. I'm not sure why, but it may have been due to being in the zone when it came to modelling. I started modeling things that didn't really a blockout, such as food and other small props. Eventually it came time to start modeling architectural pieces and after I finished with that I was excited to start building a room with all the modular assets I had made. Because of this, my scene was...
3 - Way Too Big
This happens easily when you don't properly plan. Another term is scope creep, where you just keep adding things till the project explodes out of control. I was having too much fun snapping my tiles in place that I forgot to block out a scene so I spent a good amount of time placing tiles with no real idea of what my environment was supposed to look like. I think I went through six or seven designs of the tavern using the meticulous method of snapping all my little modular pieces together instead of just quickly extruding out a cube and moving some cylinders around inside Maya.
4 - UV Repacking
This wasn't a huge problem so much as it was a minor inconvenience, as I am pretty fast at UV mapping and don't mind doing it at all. Because I had to redefine my project to a diffuse-only environment, a lot of my models had to be re-unwrapped to enhance the ease of texturing. This was due to the UVs being set up to bake normal maps to.
5 - Whoops, No Gradients
Hand-painted textures often have gradients to improve aesthetics and in some cases, draw the eye to points of interest in the subject matter. I totally forgot to do this. I remembered after a good deal of assets were already painted and I really didn't want to go back and deal with the annoyance of setting up a gradient overlay based on the direction my UVs were facing and then lining them up to the UV seams, etc. so I just continued to paint future assets with no gradients. Consistency is still important.
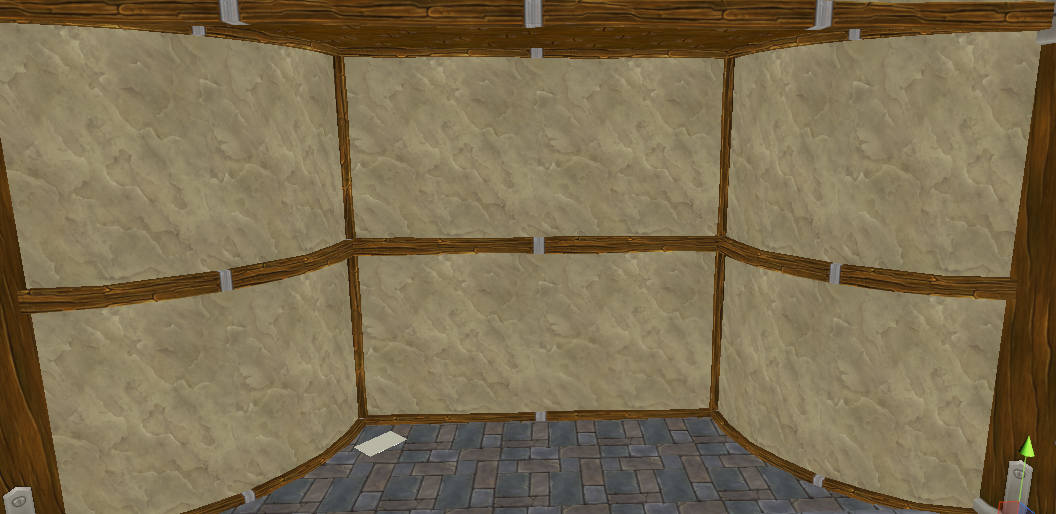
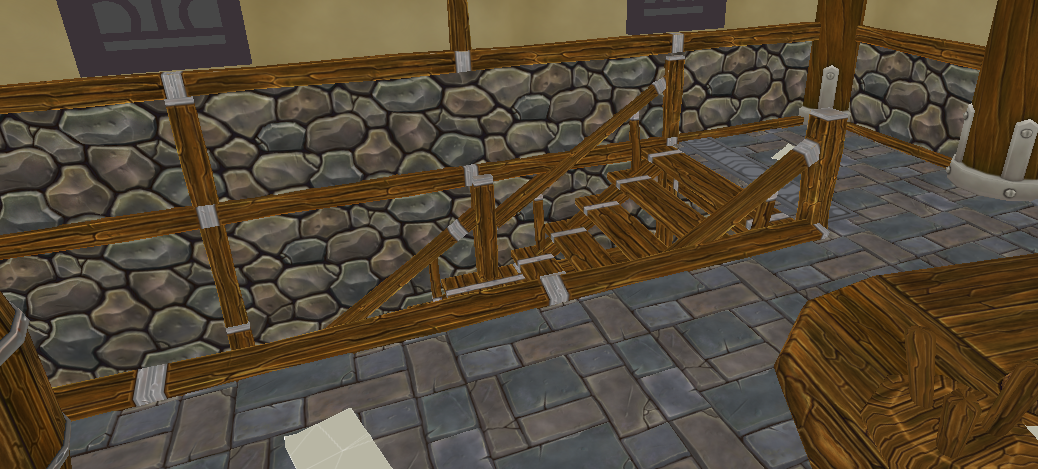
6 - Edge Padding/Mipping
At this point I was way into texturing before I noticed texture mipping. This was caused by placing my UV shells too close together and/or not having a large enough texture bleed along UV borders. It would have again taken me a lot of time to re-adjust UVs and to re-paint assets, so I just dealt with it in many cases. In some cases, I disabled mipping for certain textures that showed it real bad. A convenient, but probably not efficient, workaround.
Dark seams caused by mipmapping
7 - Facebook/Polycount/Imgur/Internet in General
Before I started my sabbatical I had a habit of having Facebook and the Polycount forums open. I would check these pages and some others more than I care to admit, and this habit certainly followed me into this project. I can't say how much time was wasted on these sites because I honestly don't know, but I feel like it was considerable. This habit on top of chatting up friends led to not really being able to think of what progress I had made after laying down at the end of the day. Definitely not a good feeling to feel like you have just wasted an entire day. I have been better about checking lots of Websites lately. It noticeably improves my productivity.
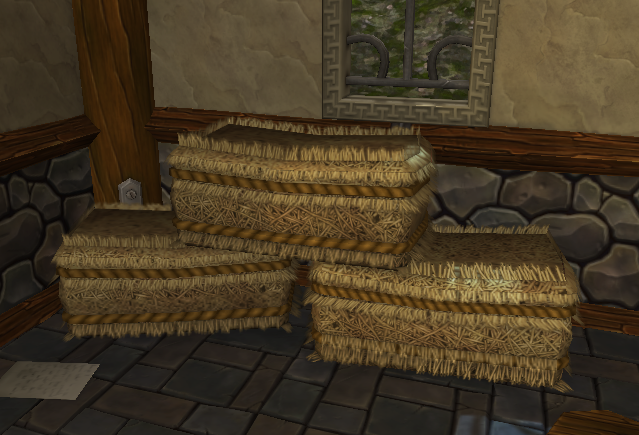
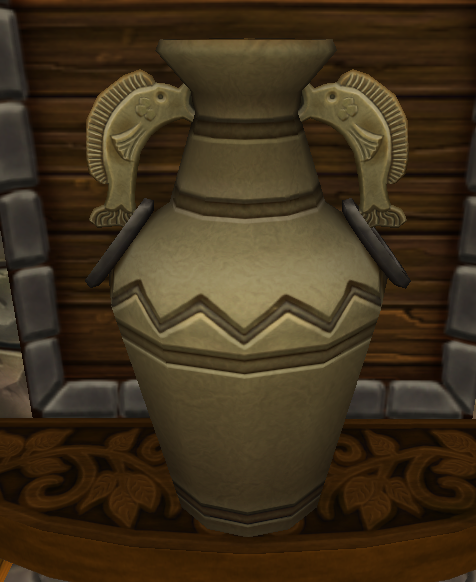
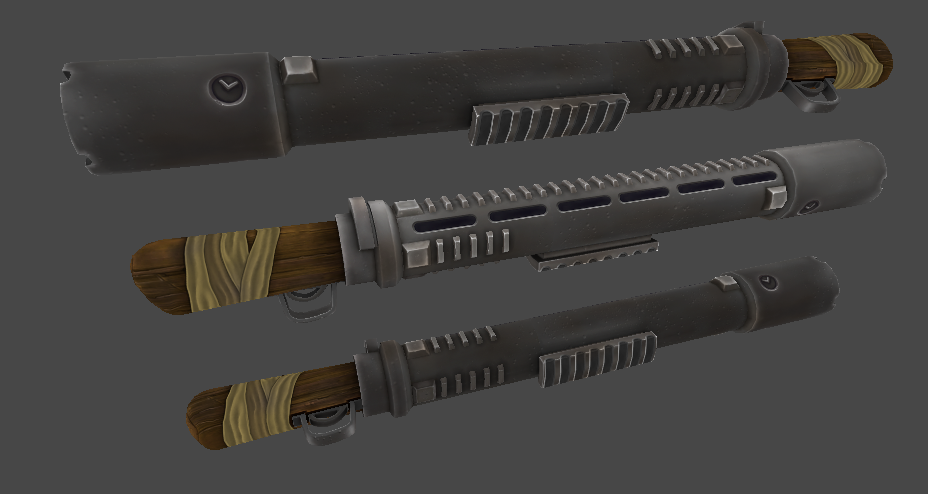
8 - Assets Had to be Cut
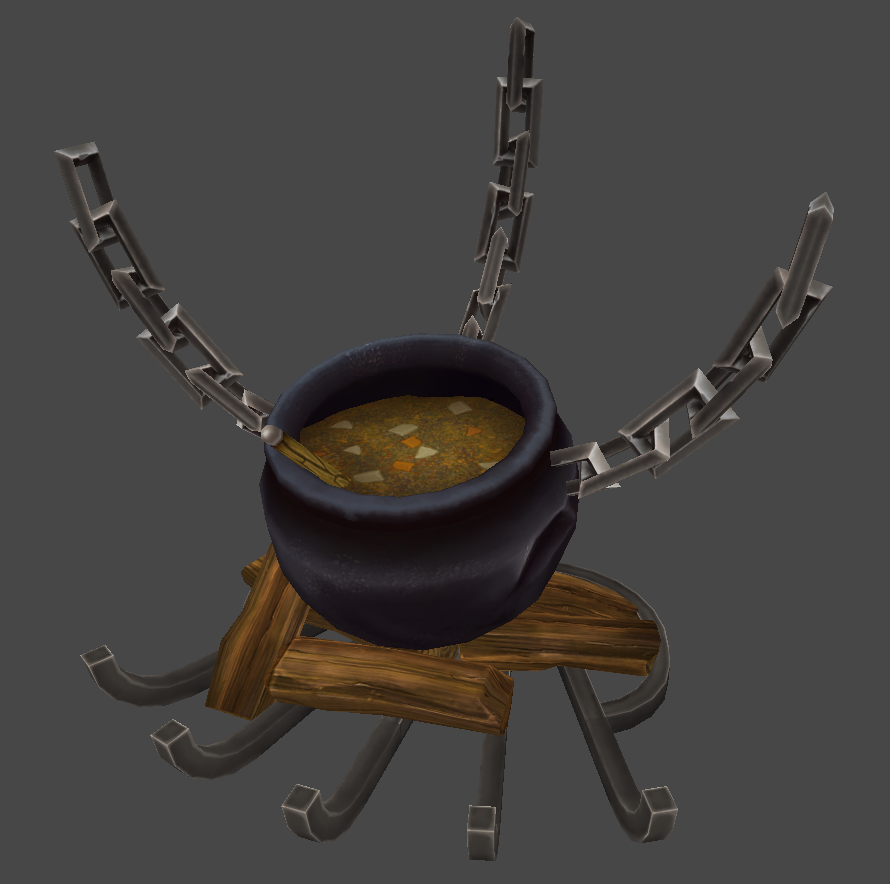
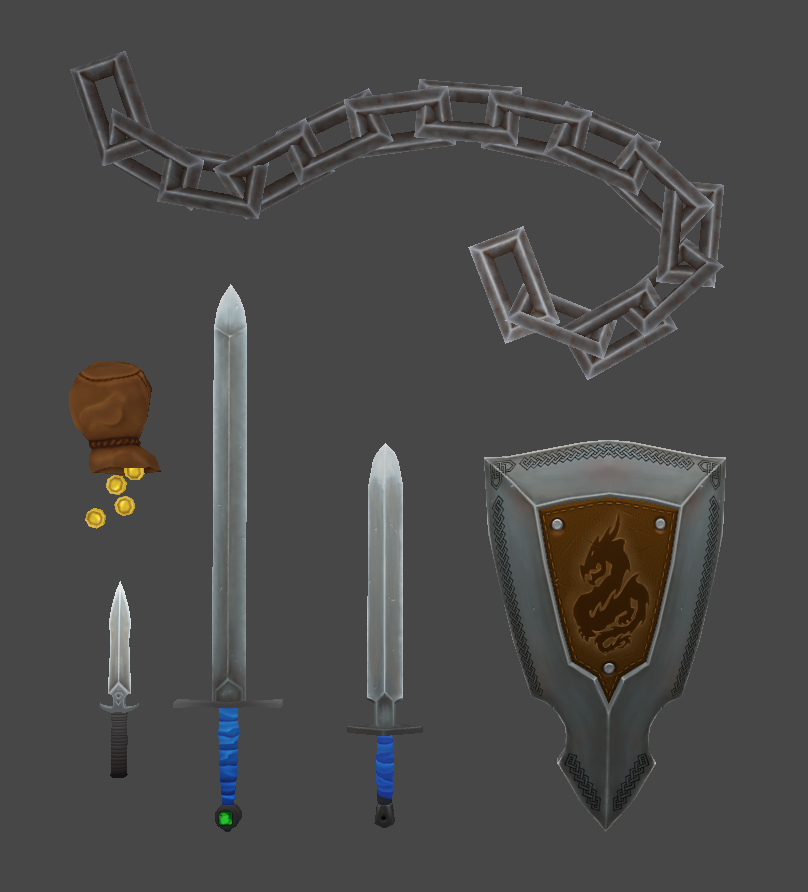
After about a month I sat down and took a look at the progress of my project. It wasn't where it should have been because of all the setbacks I had encountered, so assets had to be cut from the production. I had a few full sets of armor, more ranged weapons, and some assets specific to Dungeon Defenders removed, as well as some more environmental decor, such as trophies, wall pictures, mounted animal trophies, bearskin rugs, and some other things. If I hadn't decided to cut these items, the project wouldn't be done right now.
The Good
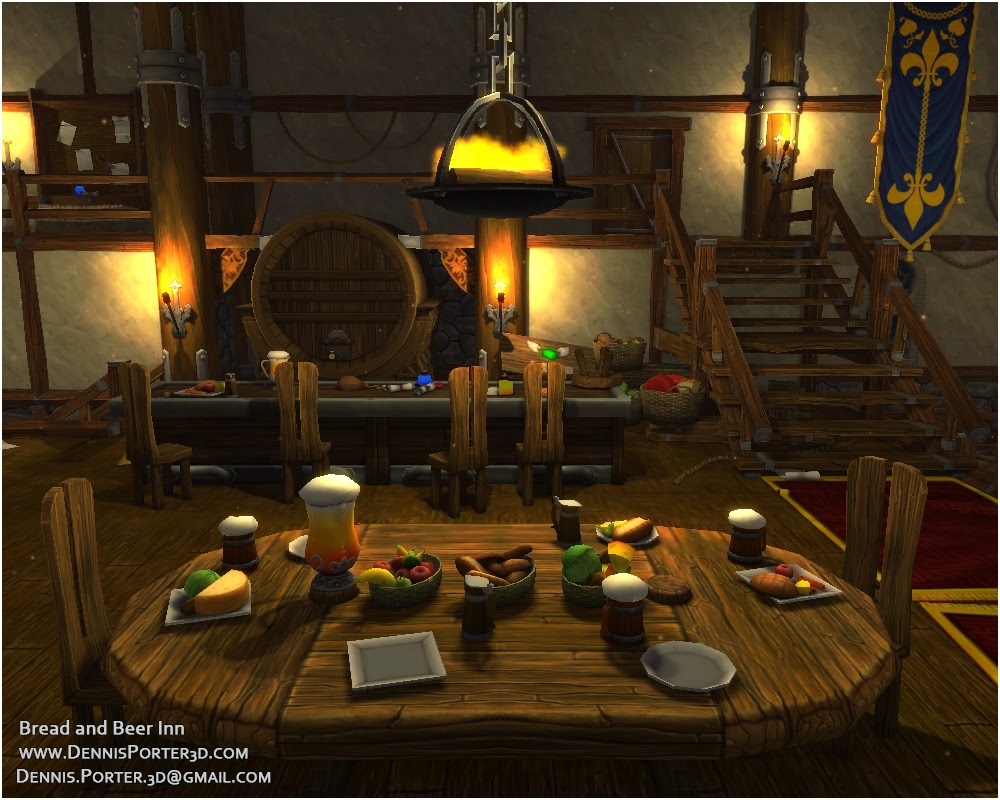
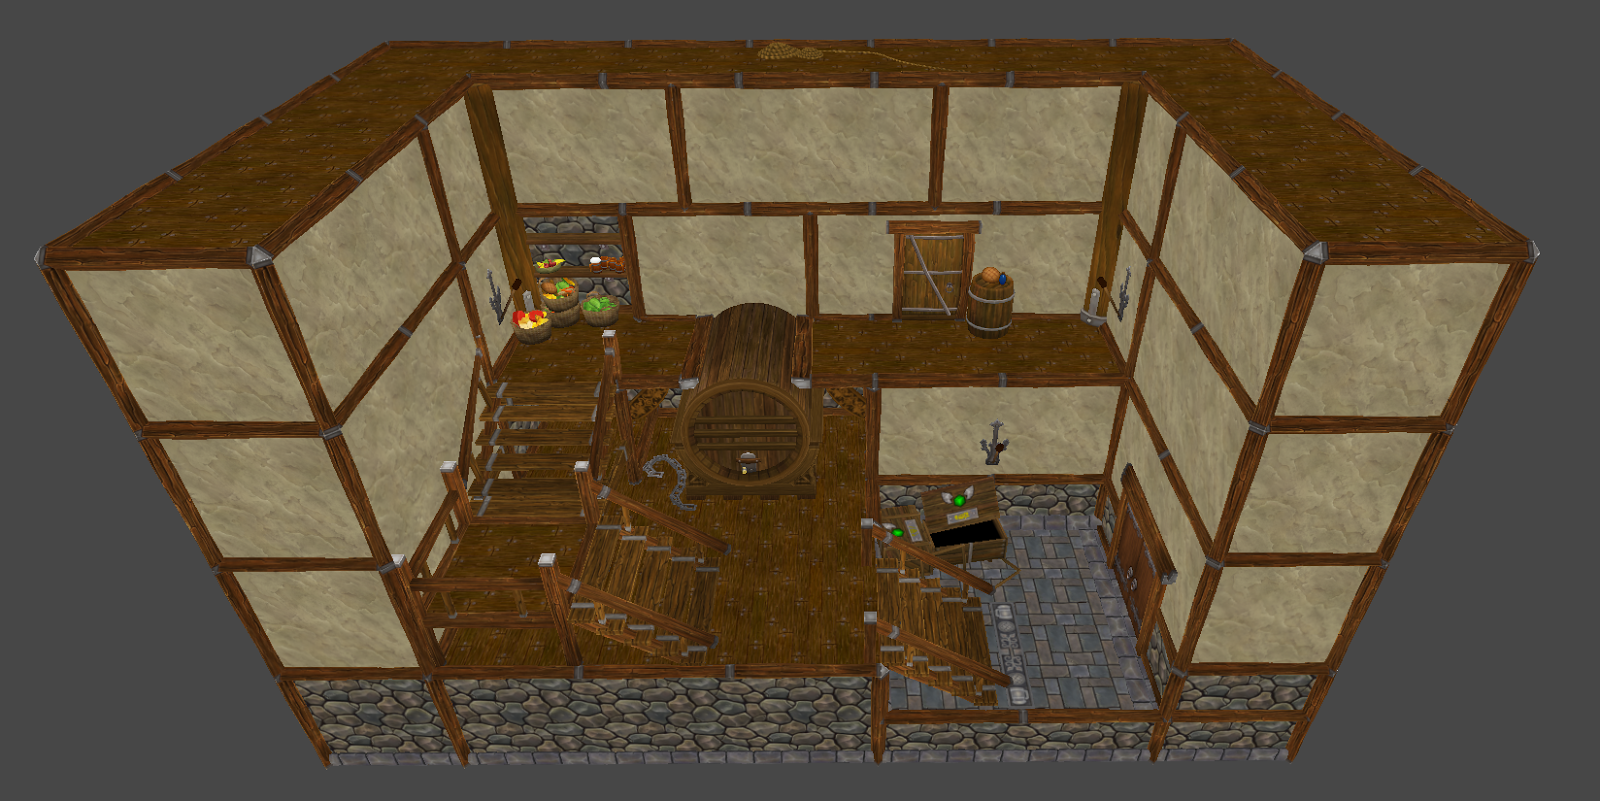
Despite there being several "bad" things that happened during this project, I'm going to be an optimist and say some of those things caused my scene to evolve into what it is now. It certainly helped my hand painting skills by cutting out normal maps.Althought my scene was rather huge for my scheduled time of 2 months, I think I was able to do a decent job at populating it and making it look believably occupied. In retrospect, given all the coin purses, abundance of goods, and in-house blacksmith, I would say this inn is doing rather well for itself, which probably speaks for the economy of the surrounding area as well.
1 - First Environment
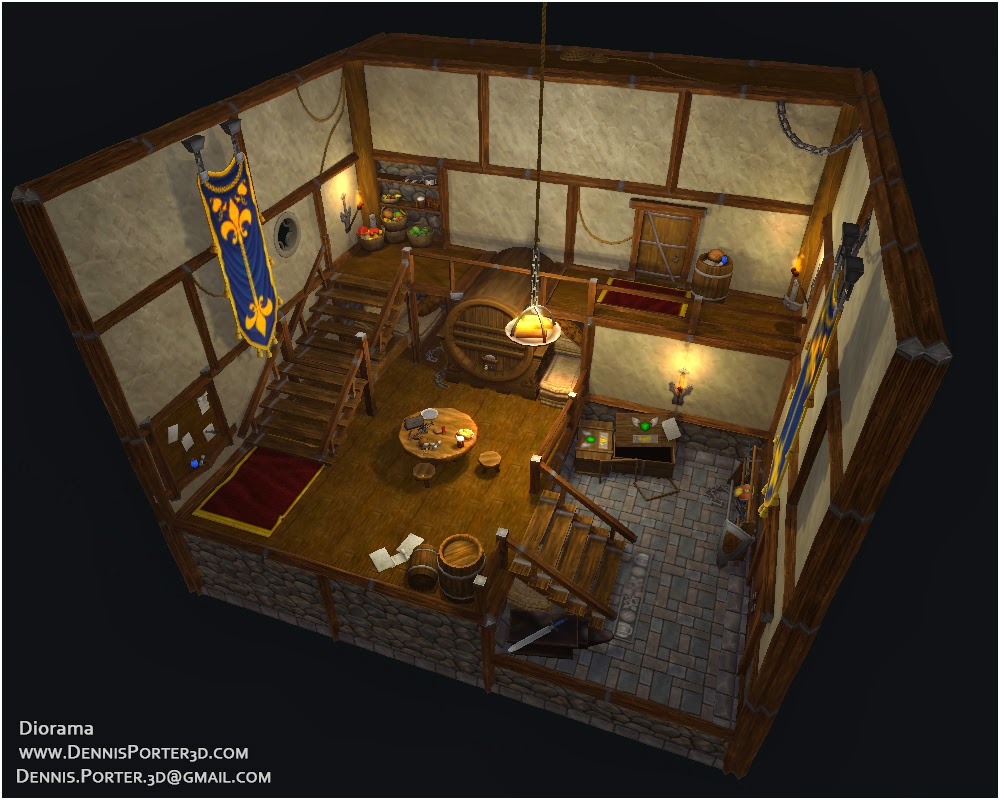
This has been my largest and most ambitious project yet, which is why I don't entirely mind that I surpassed my time budget by about two weeks (I gave myself 2 months to finish). This may or may not push back my future projects; I'm leaning towards "may not" because the experience I gained during this project will make me faster. And I know to never undertake such a large project ever again. I will be sticking to diorama-sized environments. It will allow me to still showcase my environmental design skills with the added bonus of letting me focus more time on fewer assets which will result in higher quality work.
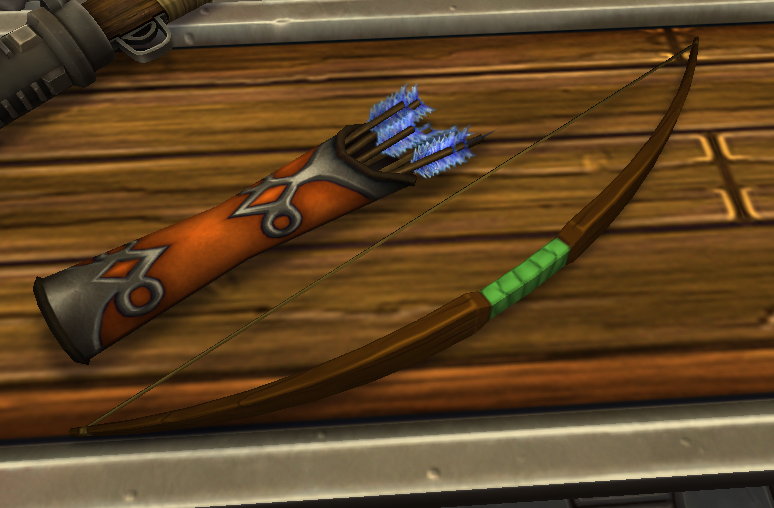
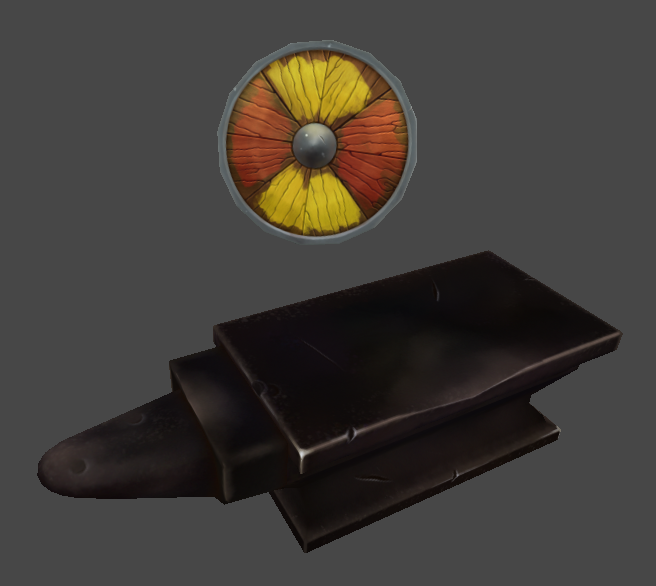
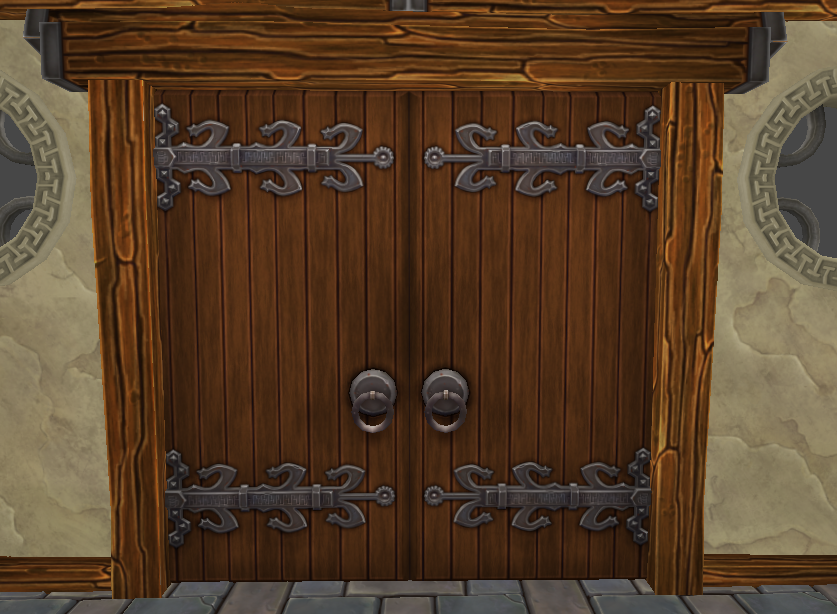
2 - Dem Hand Painting Skillz
Look. Just look at the progress I've made
December 11

March 18
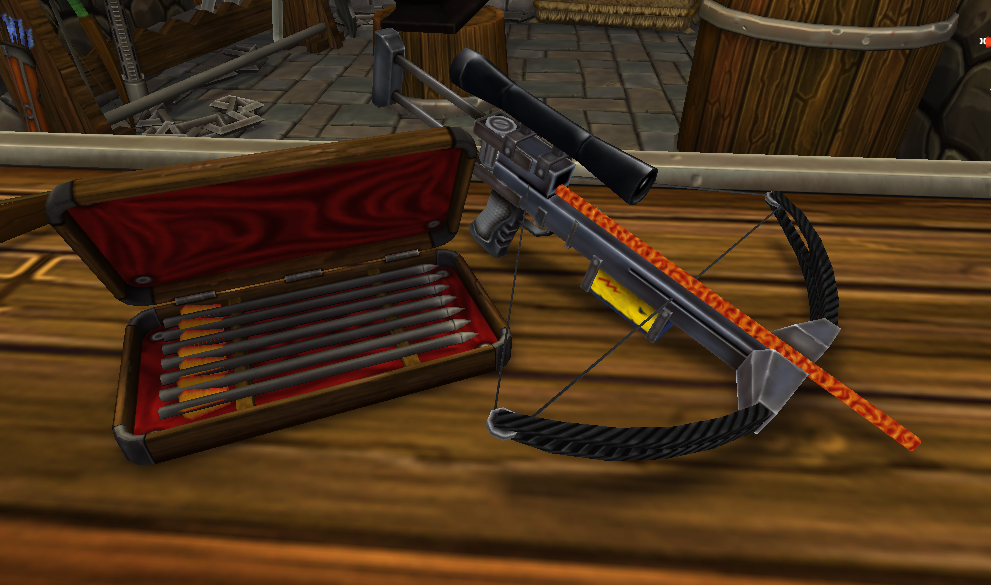
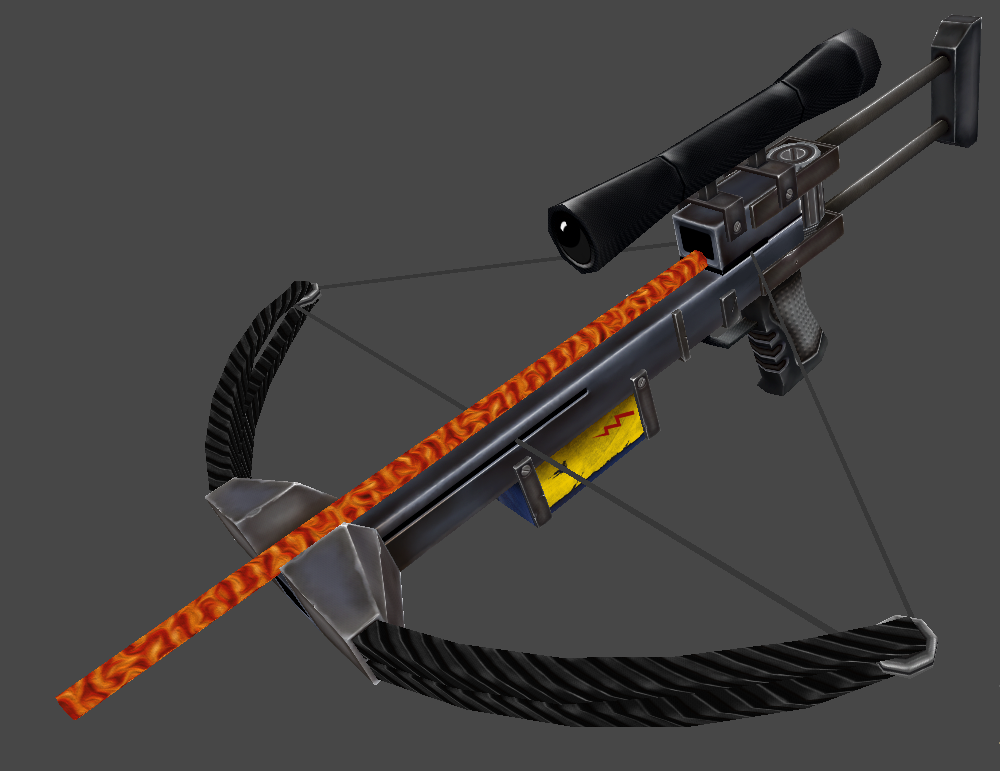
March 27
(yep, the Half-Life crossbow)
So I'm basically a whiz in Unity3D now. Using it for two months straight will do that I guess. I also picked up some engine-specific skills such as particles and lightmapping, two things I had never messed with before.
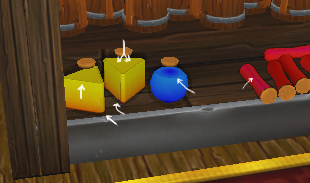
Vertex painting was another thing I learned after I was forced to come up with another approach after forgetting to paint them in the first place. Unity doesn't recognize vertex data by default for some idiotic reason (same with decals) so I had to improvise. With the help of the Shader Forge plugin, it was easy to set up and I got some additional experience with node-based shader generation. Now I don't feel so bad for not using UDK.
4 - Extremely Supportive Significant Other
I don't want to get into relationship stuff since this is a postmortem but I feel like this is a supporting factor so I will list it. I imagine a break-up would slow anyone down, so hats off to my girlfriend for keeping me on track and motivated, and for being understanding and supportive.
Other Things to Consider
Just some afterthoughts here, the postmortem is basically done!
1 - Lightmapping Lights
Make sure and check that your lights are toggled on before baking. I did this a few times and wasted several hours of baking. There's no warning telling you that all the lights in your scene are off.
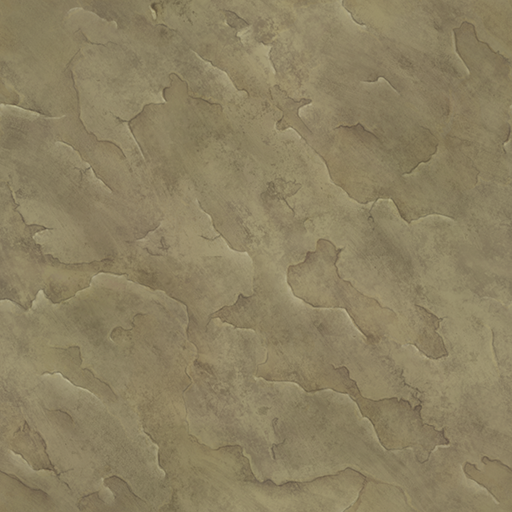
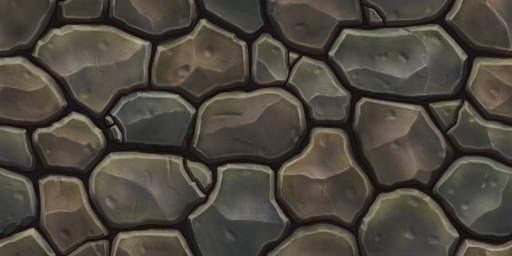
2 - Formulaic Painting
Texturing for such a large project and trying to remain consistent can be challenging. After painting a few assets on different texture sheets, I compared them visually and none of the wood textures looked anything alike. I had to come up with a repeatable method of painting to keep my wood grain all looking similar. Same with other material types.
3 - Time Budget Forces Improvisation
This is a big one I think. Rather than scrapping something, or giving up or whatever, I think it's important to consider alternative methods of approach. Improvising can lead to retaining assets, saving time, learning new things, discovering new useful tools, and generally will help your problem solving skills and grow as an artist.
4 - I'm Excited to Move On
Boy, am I! I have my next project on paper, a small mod for Skyrim; it will be a joint project between a friend and me, and whenever we get started, the asset generation stage is budgeted to no longer than 2 months. So, about as long as the tavern took! I'm not sure if that's going to be my next immediate project, though. I do have some other general ideas in mind to cater toward certain companies, and once I'm done cleaning up the wreckage from this project and other projects I was forced to put on the backburner, I'll be back with more!